

Safari Dreams
Supplies
1. PSP and Animation Shop
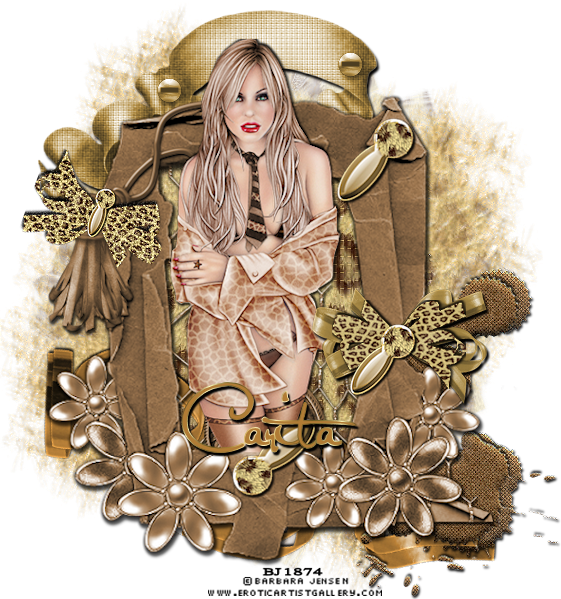
2. I am using the gorgeous art of Barbara Jensen , pinup pack #9 HERE
4. Sinfully STormy Scrapkit called Buried Treasure FTU kit HERE
4. Masks # 143 and 167 by WeeScotsLass HERE
5. Font Satisfaction
* Hints *
You should have working knowledge of psp and animation shop for this tutorial
Drop shadow settings : Horizontal 2, Vertical 2, Opacity 100, Blur 4.00, color black
This tutorial is optional to animate , if you dont want to animate, then skip those steps . Also, step # 4 is optional , tag can be made with or without grass .
This tutorial is optional to animate , if you dont want to animate, then skip those steps . Also, step # 4 is optional , tag can be made with or without grass .
Let's Get Started
1. Open two new files in PSP size 600 x 600 pixels, tick the transparent box. Open Papers # 4 and 13 from CC's kit . Copy and paste each paper onto each new file " as new layer" > layers > merge visible. Delete papers. Open WSL mask # 167 and resize to 120%. Layers > new mask layer > from image .Copy and paste onto paper # 4 from kit > layers > merge visible.. Open mask # 143 > layers > new mask layer > from image . Copy and patste onto paper # 13 > layers > merge visible. Copy and paste mask onto the first mask > layers > merge visible. Delete all other items. Resize image to 90%. Using the pick tool , push in from both side by two blocks each side . Open a new file in psp and copy and paste mask layers onto new file " as new layer > layers > merge visible. Delete original mask creation.,
2. Duplicate double layered mask one time ( layers . duplicate ) . Close off top layer in layers palette, highlight bottom layer . Adjust > add/remove noise >add noise > settings > uniform, monochrome, 40%,. Close off bottom layer and highlight top layer and open > adjust > add / remove noise > add noise , same settings but change percentage to 50%. .Open and highlight bottom layer > copy > paste into animation shop > as new animation. Close layer in palette, open and highlight top layer > copy > paste into animation shop > "after current selection " You should now have two frames in animation shop.
3. Open a new image in psp size 600 x 600 pixels . Flood fill with white. Image > resize to 90%. Copy and paste into animation shop " as new animation" . Right click > duplicate. Left click on mask frame #1 > edit select all > edit > copy . Left click on first frame of white file > edit select all > edit > paste into selected frame. Make sure that the masks are on both frames of white file , check animation by clicking " view" >. animation. Then delete and also delete the png frames of mask .
4. This step is optional , if you dont want the grass in the tag , leave this step out and move on .Open a new image in psp size 600 x 600 > resize to 90%. Open tall grass # 3 from Buried Treasure kit . Resize to 90%. Adjust > sharpen. Get pick tool and push in two blocks from each side of grass tube.Copy and paste onto left side of tag " as new selection and position as shown keeping tip of grass 1 block off left side and base of grass 8/9 blocks off bottom of left side of tag > selections > select none. Left click on grass tube > image > mirror > Copy and paste onto right side of tag in same position as in left side. Open yellow grass from kit . Image > resize to 90% . Adjust > sharpen . Copy and paste onto tag " as new selection" at bases of tall grass as shown. Selections > select none.
5. Open mesh from CC kit . Resize to 90% > adjust > sharpen. Copy and paste onto blank file ( from here referring to as " tag " ) " as new selection" and position as shown keeping in 4th block from right lower side of frame and 4 and 1/2 blocks from bottom of tag . Effects > 3D effects > drop shadow> selections > select none.
6. Open banner # 1 from CC's kit. Image > resize to 90%. Adjust > sharpen. Copy and paste onto tag " as new selection" and position as shown, keeping 1 block off top of tag, and left ribbon on banner should be in 6th block from left side of tag > effects >. 3D effects> drop shadow > selections > select none.
7. Open Ribbon # 1 from CC kit. Image > resize to 90% . Image > flip . Image > free rotate : left > 20.00. Adjust >sharpen > image > resize to 90%. Copy and paste onto bottom of tag " as new selection " and position as shown in 5th block from right side of tag and 3 blocks from bottom of tag >effects > 3D effects . drop shadow> selections > select none. Copy and paste ribbon again " as new selection" and position as shown to sit on top of first ribbon > effects > 3D effects > drop shadow > selections > select none.
8. Open splat # 1 from CC's kit. image > resize to 90 % > edit > repeat resize one time. Adjust > sharpen. Image > mirror. Copy and paste onto right side of tag " as new selection" and position as shown with outer edge of top right splatter in third block from right and outer bottom edge of bottom splat should cover top ribbon > effects > 3D effects > drop shadow.
9. Open frame # 6 from CC's kit. Image > resize to 110% > adjust > sharpen. Adjust > hue and saturation> colorize > Hue 20 , saturation 80. Copy and paste onto tag " as new selection" and position as shown, taking care to be sure that edges of mesh are covered., coin in mesh should show all but about 1/4th. Top edige of frame should have gap between paper and ribbon banner. Effects > 3D effects > dropshadow> selections > select none.
10. Open tassle # 2 from kit. Image > resize to 90%. Adjust > sharpen. Copy and paste onto paper frame " as new selection" and position as shown, in 6th block from left side and wraps on tassles should be on left shoulder of frame > effects > 3D effects > Drop shadow > selections> select none.
11. Open artists tube of choice , I used Tailor by Barbara Jensen , for that tube I resized by 90% twice > adjusted > sharpened. Copy and paste tube onto frame " as new selection" and carefull position so that bottom edge of tube aligns with frame> effects> 3D effects > drop shadow : vertical minus 3 and horizontal 2 > selections > select none.
12. Open bow from CC's kit. Image > resize to 90%. Edit > repeat resize once. Adjust > sharpen. Copy and paste onto tag " as new selection " and position on right side of frame as shown just above flower. Effects > 3D effects > 3D effects > drop shadow using original settings , vertical 2, horizontal 1. Open paper # 13 from kit. Resize to 25%. Get magic wand , left click in areas outside of bow tube and inside loops of bow > selections > invert . Copy and paste paper 13 into selection. Resize bow to 85%. Adjust > sharpen. Copy and paste leopard bow over right bow on frame > effects > 3D effects > drop shadow > selections> select none. Left click on leopard bow again. Image > flip > copy > paste "as new selection" and positon on left side of frame as shown> effects > 3D effects > drop shadow > selections > select none.
13. Open clip # 1 from CC's kit. Resize to 60%. Image > rotate right > image > free rotate > right 20 %. Copy and paste onto right bow " as new selection" > effects > 3D effects > drop shadow> selections> select none. Left click on clip again . Image > free rotate > 20. Image > mirror and copy and paste onto left bow , drop shadow and select none. Left click on clip again. Image > flip > copy and paste onto bottom of frame as new selection > drop shadow> select none.
14. Copy and paste tag into animation shop " as new animation" Right click " duplicate ". Left click on first frame of tag > edit > select all > edit > copy . Left click on first frame of tagback from step 2 in tutorial . Edit > select all > edit > paste into selected frame .
15. Credits > open credits , right click on them > duplicate. Left click on first frame of credits > edit > select all > edit > copy . Left click on first frame of tag > edit > select all > edit > paste into selected frame. View > animation > save as GIF file ( just continue to hit ok until tag is saved )
Thanks for trying my tutorial.. This tag and tutorial were created by BarbieL and tag, tutorial and concept are solely my own creations. Do not copy , reproduce or claim as your own . Do not post to any website, blog , group or forum without my permission . Do not translate.
No comments:
Post a Comment